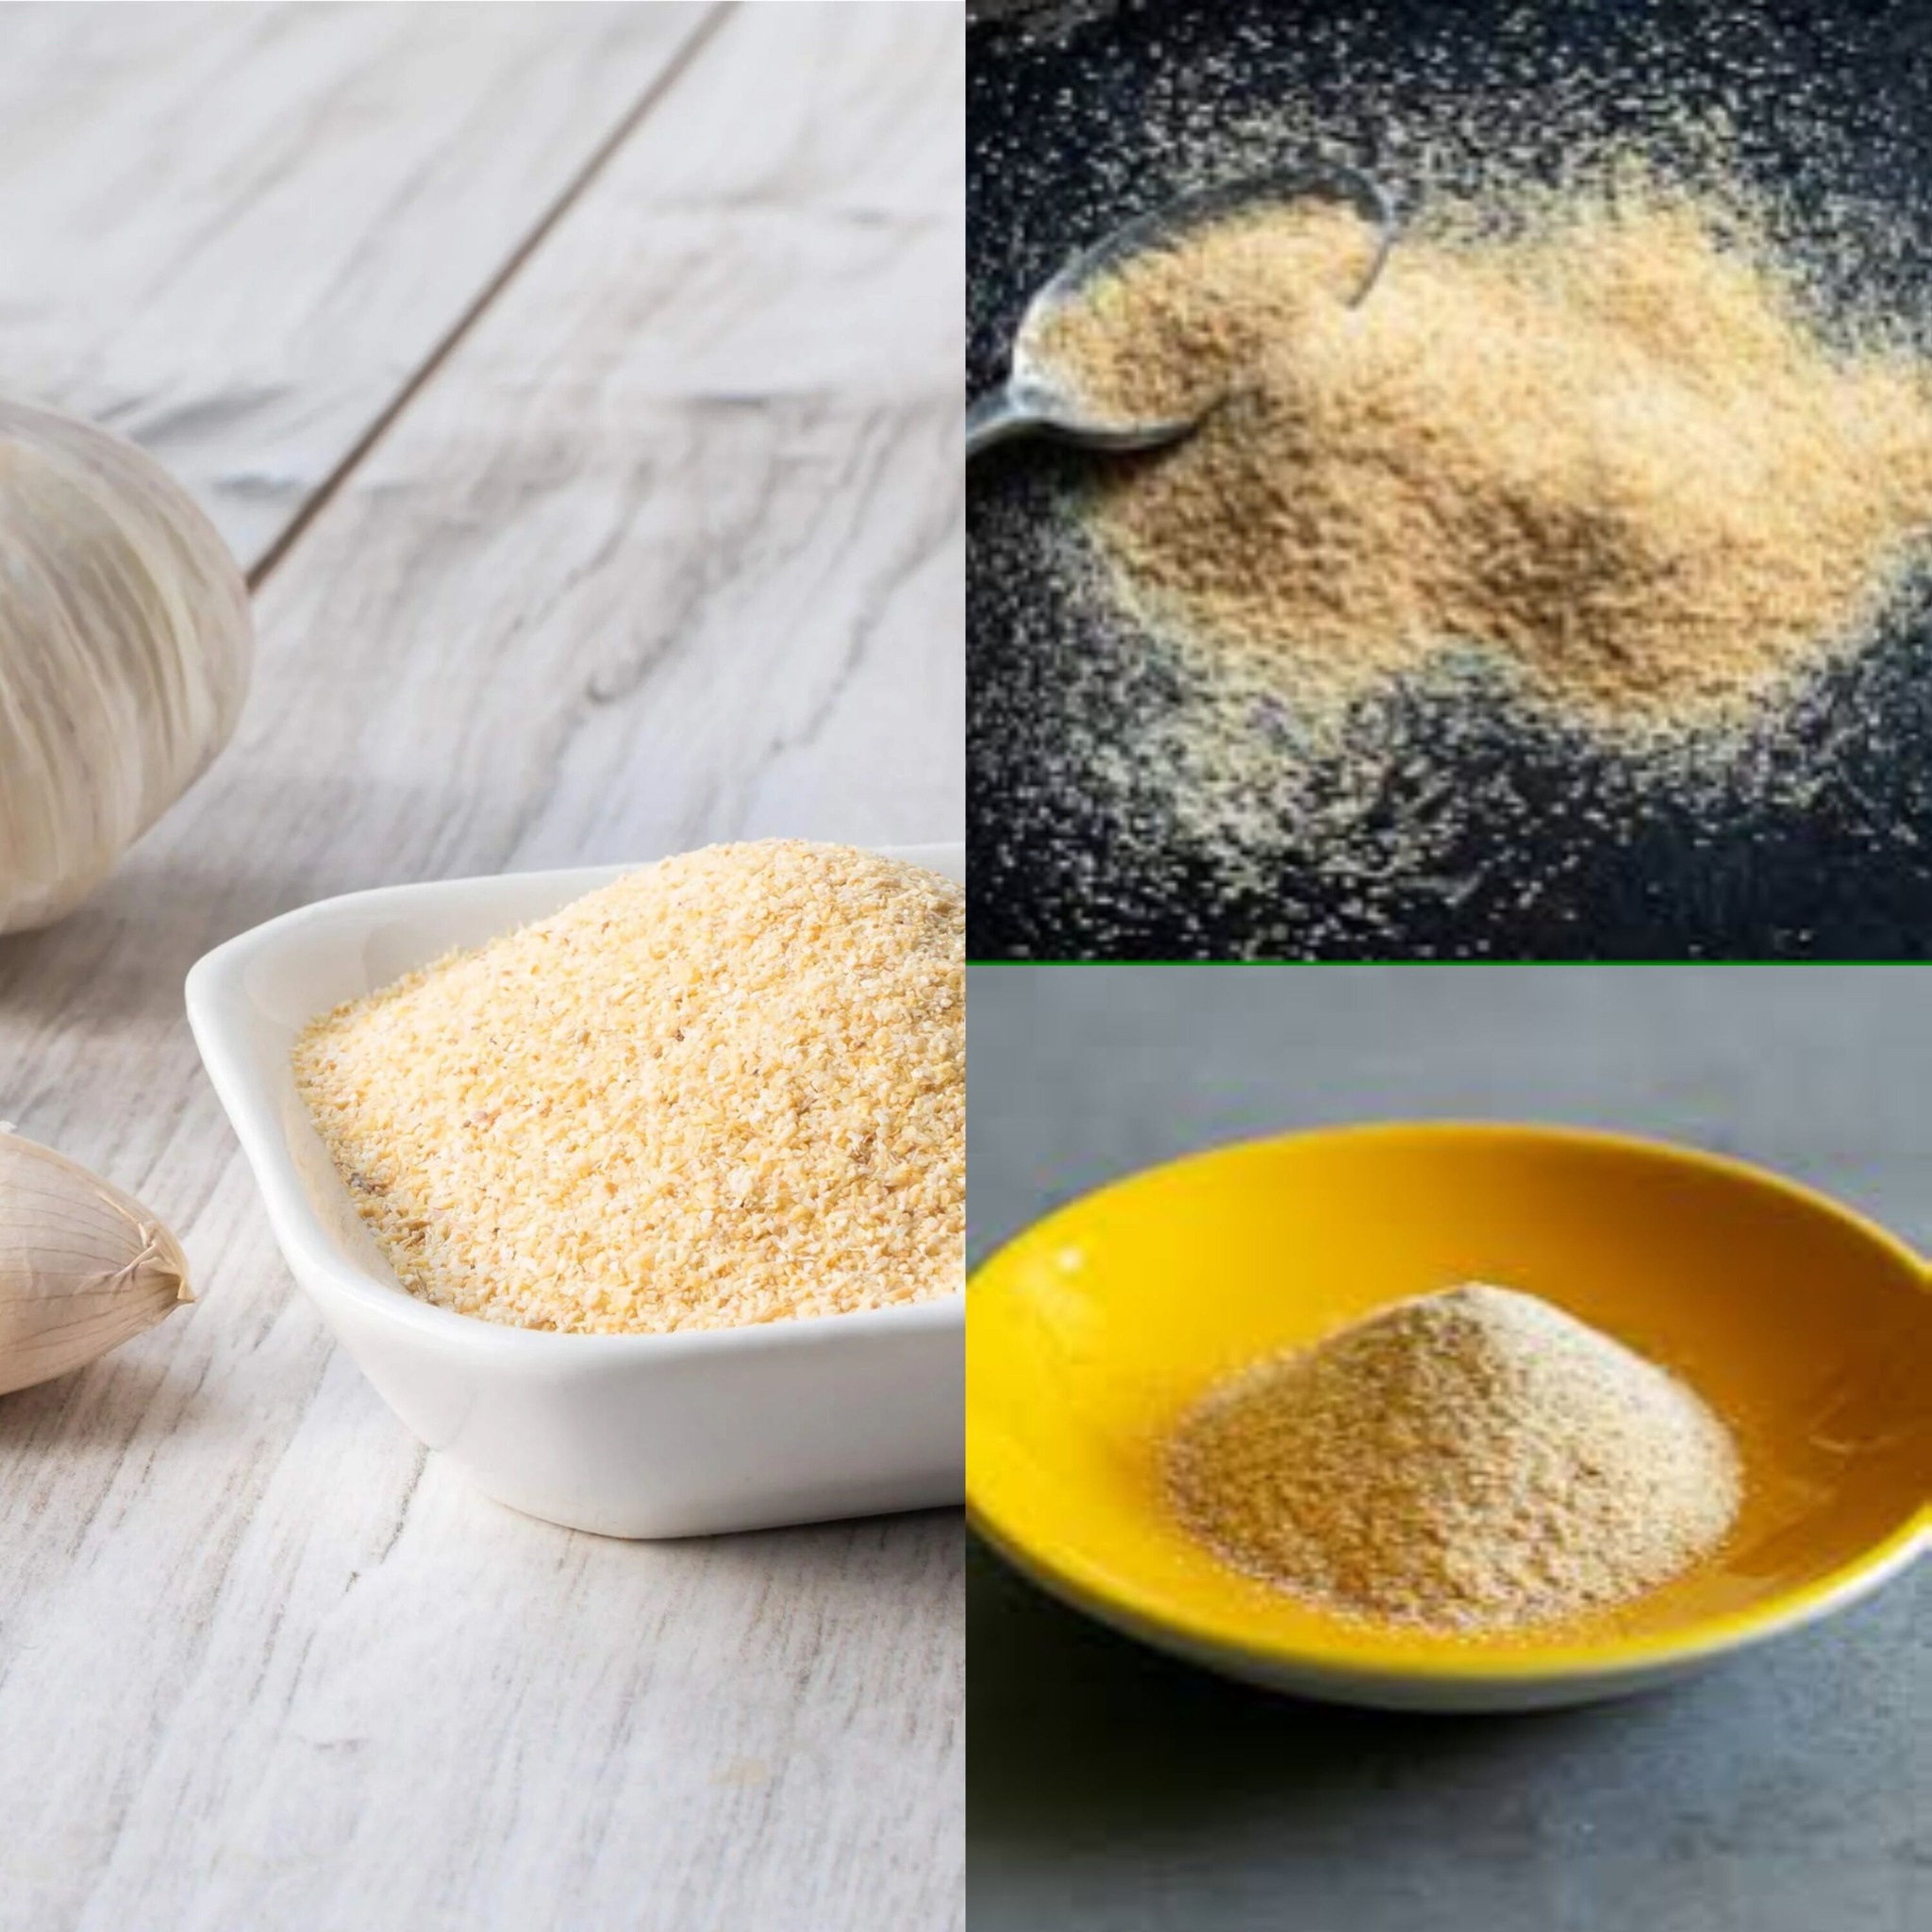
Creating your own garlic powder at home is a rewarding culinary journey that results in a fresher, more aromatic, and flavorful seasoning. It’s an ideal way to utilize any extra garlic you have, ensuring your seasoning consists of nothing but pure, natural garlic, free of any additives or preservatives. Here’s how to embark on this simple and delightful kitchen adventure.
What You Need:
Fresh garlic bulbs
Baking sheet
Parchment paper (optional for easier cleanup)
Blender or spice grinder
Airtight container for storage
Step-by-Step Guide to Making Garlic Powder:
Prepare the Garlic: Begin by peeling the cloves. This part might take some time, but it’s worth it for the fresh aroma and flavor.
Slice the Garlic Thinly: Cut the garlic into thin slices. The thinner they are, the quicker they’ll dry, ensuring an even drying process.
Dry the Garlic: Place the slices on a baking sheet, using parchment paper to prevent sticking. Dry the slices in an oven set to the lowest temperature. Keep the oven door slightly open to let moisture escape. This step requires patience as it may take several hours.
Grind the Garlic: Once the slices are completely dry and crisp, grind them into a fine powder using either a blender or spice grinder.
Store Your Garlic Powder: Transfer the finished garlic powder into an airtight container and store it in a cool, dry place. Properly stored, it should retain its flavor for several months.
Tips for a Perfect Batch:
Monitor the Oven Closely: Regularly check on the garlic as it dries to prevent burning.
Cool Before Grinding: Let the garlic slices cool completely before grinding to ensure a consistently fine powder.
Label the Container: If you’re making various homemade spices, don’t forget to label each container for easy identification.
This straightforward process not only yields a superior product but also adds a personal touch to your cooking, enhancing your dishes with the authentic taste of homemade garlic powder.